Big image files are still one of the most common reasons a page feels slower than it should. Not JavaScript. Not fancy animations. Just a hero image that quietly weighs 1.6 MB because somebody uploaded the original JPG straight from a phone.
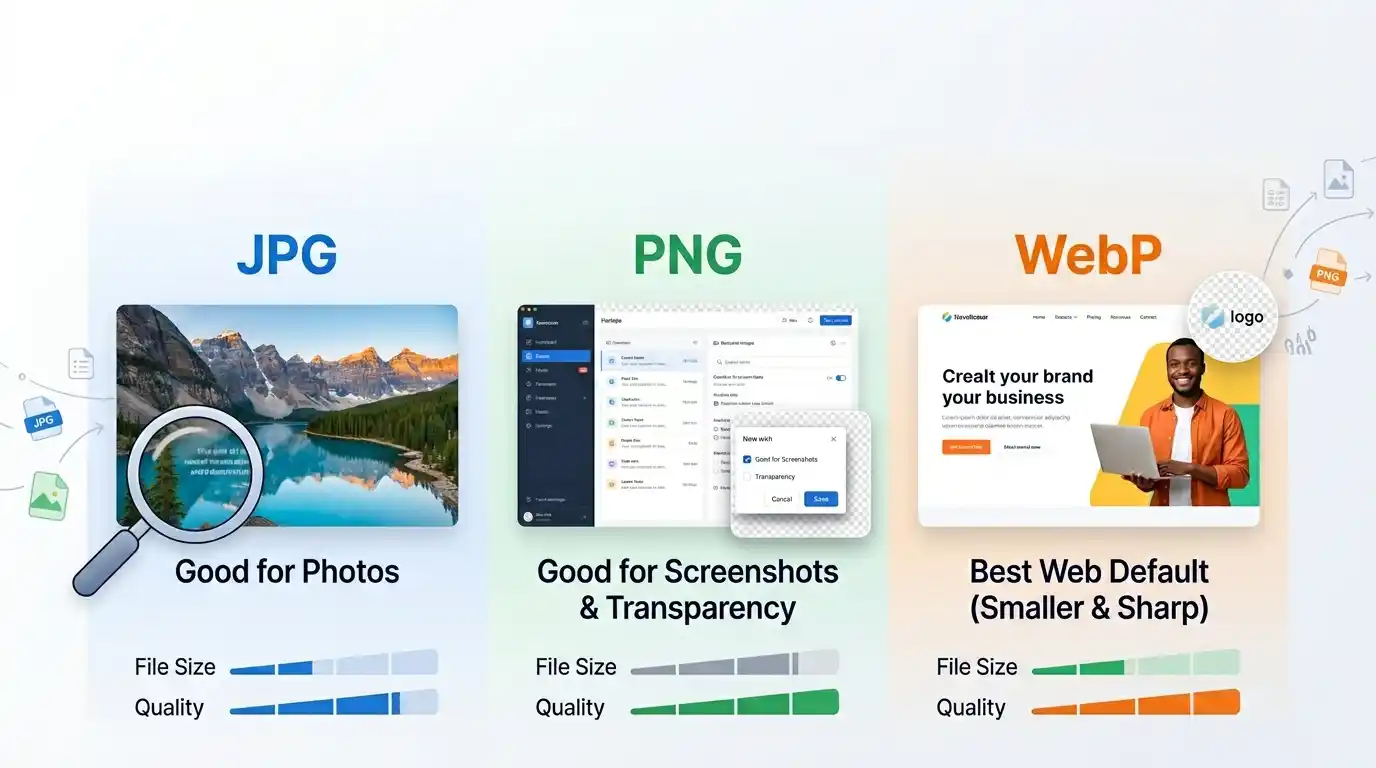
That is exactly where WebP helps. I’ve tested this enough times that I do not really debate it anymore for normal web delivery. If the image is headed to a website and there is no weird legacy constraint, WebP is usually the format I try first. It gives smaller files than JPG in a lot of real cases, supports transparency unlike JPG, and does not require server-side processing for a basic conversion workflow. Your data never leaves your device when you use a browser-based tool for this.
Why WebP Usually Wins on the Web
The simplest reason is file size.
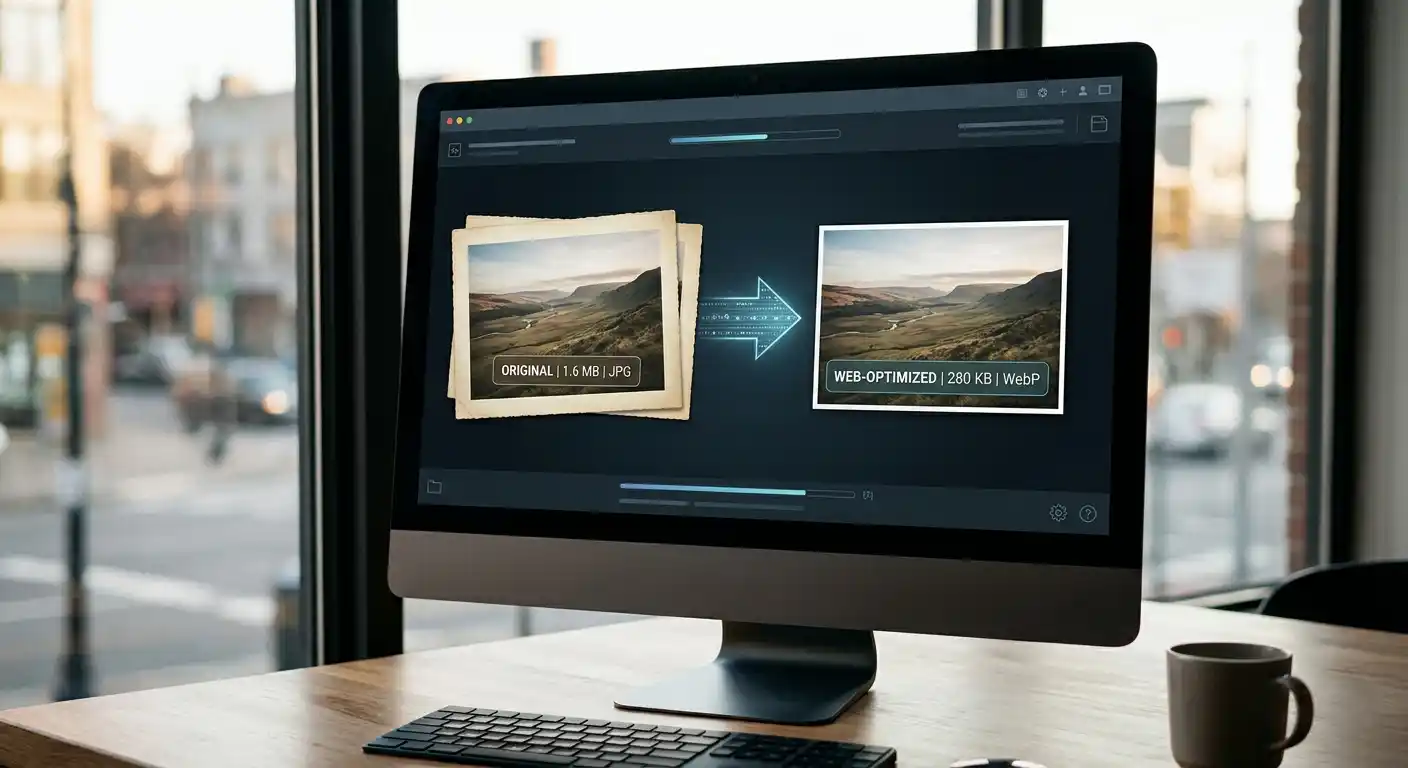
A resized article cover that might sit around 480 KB as JPG often drops closer to 280 KB as WebP without looking obviously worse. I’ve seen ecommerce product images go from 900 KB down to 300–400 KB after resizing and converting to WebP. Not every file gets a dramatic win, but enough of them do that it is worth checking by default.
The other advantage is flexibility. WebP works for both regular photos and transparent web assets, which means you do not get stuck in the old “JPG for photos, PNG for transparency” split every single time.
When Converting to WebP Makes Sense
WebP is usually a good move for:
- blog images
- landing page visuals
- product photos
- article cover images
- marketing graphics
- transparent assets used on websites
It is less useful when:
- an old CMS plugin refuses to handle WebP properly
- a client needs a file that opens predictably in every older app
- the image is part of a print workflow
- you are preparing source assets rather than delivery assets
That distinction matters. WebP is a great delivery format. It is not automatically the format you want to keep as your master file.
JPG to WebP Is the Most Common Upgrade
Most people are not converting everything. They are usually converting JPG to WebP because the original site is already full of JPGs.
That is also the easiest win. If you have a blog full of JPG uploads or product images exported from a camera workflow, converting them to WebP can cut a lot of unnecessary weight without changing your layout or redesigning anything.
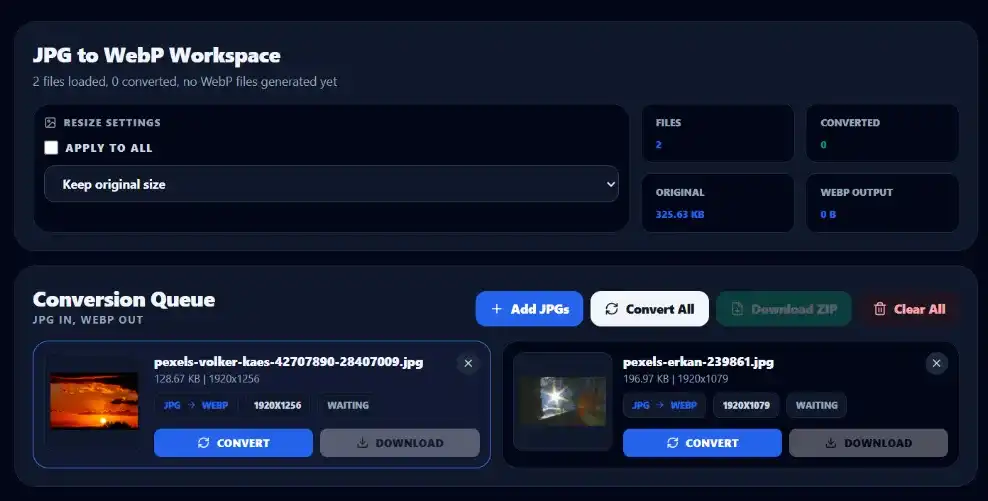
If that is your exact use case, use the JPG to WebP Converter. It is more direct than a general converter and gets you to the result faster.
The Better Workflow
The mistake I see a lot is converting the original oversized file and expecting miracles.
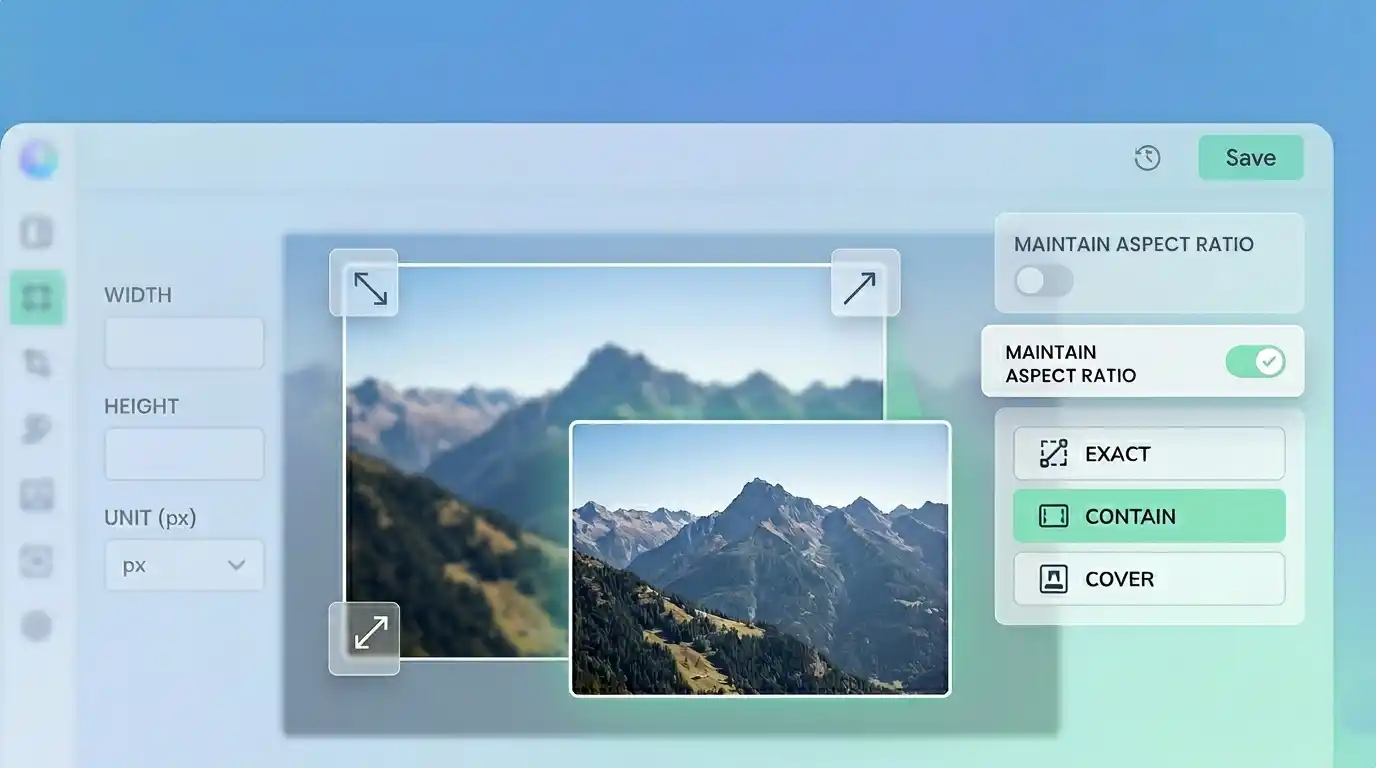
If the image is 4000 px wide but only displays at 1200 px, format conversion helps, but it is not the main fix. You are still carrying too many pixels.
The better workflow looks like this:
- resize the image to realistic display dimensions
- convert it to WebP
- compress only if the result is still heavier than it should be
That order matters more than people think. If the image is too large for the layout, start with the Image Resizer. If the file format is the main issue, move to WebP. If the file is still bloated after that, finish with the Image Compressor.
Converting an Image to WebP
This part is straightforward, which is good, because it should be.
Upload the image. Pick WebP as the output format. If the tool gives you resizing options, decide whether you want to keep the original size or reduce the dimensions at the same time. Then export and compare the result instead of trusting assumptions.
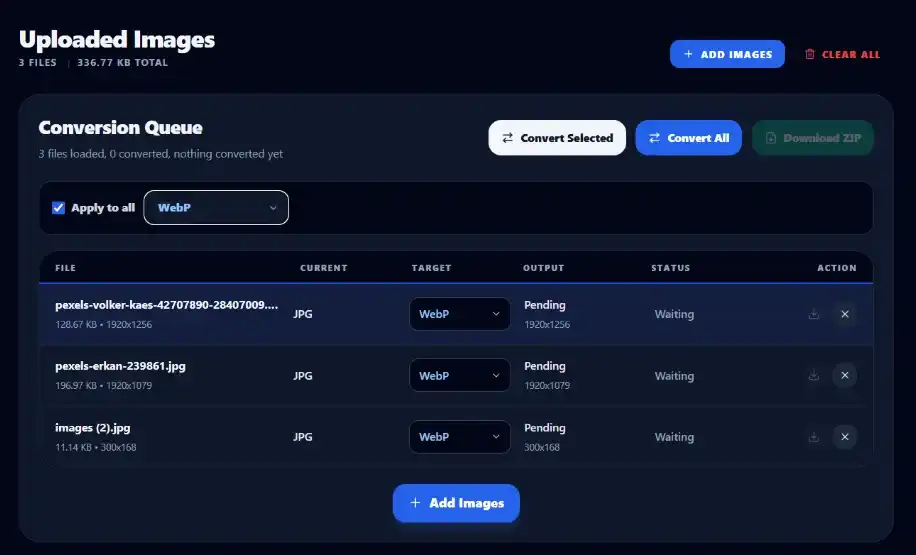
If you are using the broader Image Converter the flow is similar. Choose WebP as the target format, keep an eye on dimensions, and test the output file size before publishing.
What to Watch Before You Export
This is where a lot of “optimization” turns into accidental quality damage.
If the image is a normal photo, WebP usually handles it well. You can be fairly aggressive and still get a decent result. If the image contains very fine text, interface elements, or small annotation details, check it more carefully after conversion. WebP is strong, but there are still cases where a crisp PNG is the better call.
I would not blindly convert every screenshot to WebP just because it is smaller. Sometimes the edge quality is fine. Sometimes it gets just soft enough to look slightly off, which is worse than it sounds.
PNG to WebP Can Be Smart or Dumb
This depends completely on why the PNG exists.
If the PNG is a regular photo or decorative website graphic that does not really need lossless quality, converting to WebP is often a smart move. You can cut a lot of waste out of the file.
If the PNG is a logo, interface capture, chart, or screenshot with sharp text, slow down. Test it. Do not assume a smaller file is automatically the better file.
That is why I prefer testing actual outputs over following format rules too rigidly. A format guide gives you a starting point. The exported file gives you the truth.
A Few Numbers That Actually Matter
The web does not care that your source image looked amazing at 4032 x 3024. It cares what the visitor has to download.
A practical target for many content images is somewhere around:
- 1200 px wide for article content
- 1600 px wide for large hero areas
- under 300 KB when possible for typical blog visuals
- under 500 KB for large, important images that still need to look polished
Those are not laws. They are just good reality checks. If a standard blog image is still 1.2 MB, something probably went wrong earlier in the workflow.
WebP Is Not an Excuse to Skip Resizing
This is worth saying twice because it keeps happening.
Converting a huge image to WebP does not magically make it optimized. A 4000 px WebP can still be wasteful if the page only shows it at 1200 px. You might save file size compared to JPG, sure, but you are still shipping more pixels than the layout needs.
If the image is oversized, resize it first or during conversion. That is where the biggest gains usually come from.
Where Conversion Fails in Real Projects
Not technically. Workflow-wise.
Sometimes the CMS image pipeline is old and somebody discovers too late that certain previews do not handle WebP properly. Sometimes a designer hands off PNGs because that is what the design tool exported, and nobody revisits the decision. Sometimes marketing teams download a file, re-upload it elsewhere, and convert it back to JPG because that is what they know.
That is why I like having both a general Image Converter and a more focused JPG to WebP Converter. One is useful when you are exploring options. The other is better when you already know what the job is.
What I’d Personally Do
For a blog, landing page, or product grid, I would usually:
- resize the image to realistic dimensions
- export to WebP
- compare the result once at normal viewing size
- compress a bit more only if needed
That is it. No ritual. No six-format export experiment unless the image is unusually important.
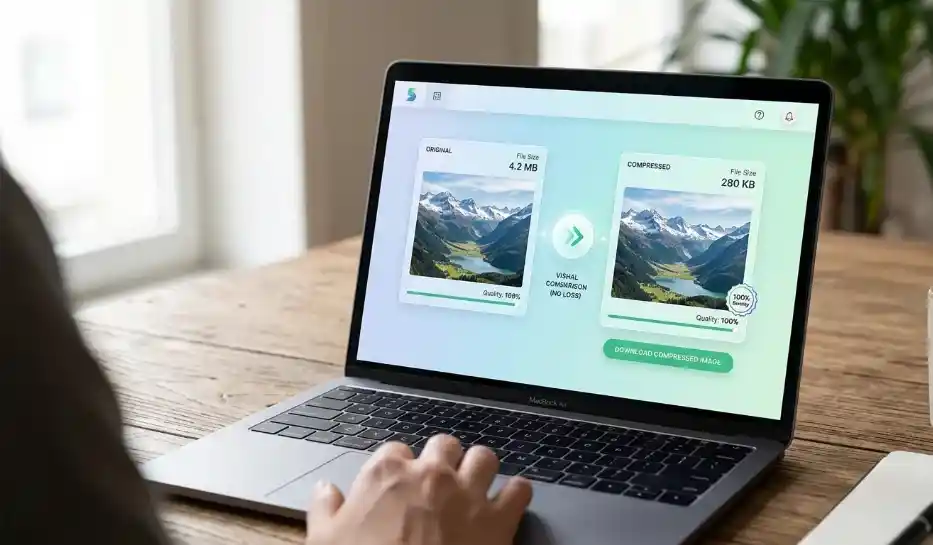
If the result looks clean and drops from something like 680 KB to 260 KB, I am not going to keep fiddling for another 20 KB. Past a certain point, the optimization time costs more than the optimization itself.
Pro Tip
Compare the converted image at the size people will actually see it, not zoomed in like you are inspecting evidence. If the WebP version looks clean at real display size and cuts a few hundred kilobytes, take the win and move on.